
Picture this: a pristine kitchen space, bathed in natural light, its bright white cabinets offering a canvas of possibility, and there, the pièce de résistance—a herringbone backsplash that whispers timeless elegance. The heart of the home, elevated.
Now, imagine capturing this essence in your own abode. It’s no mere daydream. This article isn’t just a blueprint; it’s a doorway to transformation—your kitchen’s metamorphosis from mundane to magazine-worthy.
White kitchen cabinets with a herringbone backsplash don’t just speak to a trend; they’re a nod to the classic kitchen aesthetic, a dance of monochromatic tones and texture.
Dive with me into the nuances of chevron and herringbone patterns, explore the symphony of high-gloss finishes juxtaposed with natural stone tiles, and unearth the secrets to creating a space that feels both expansive and intimate.
By the journey’s end, you’ll be armed with not only inspiration but actionable steps to cultivate a culinary haven that’s unequivocally yours.
Ideas for White Kitchen Cabinets With Herringbone Backsplash
Bright and Airy
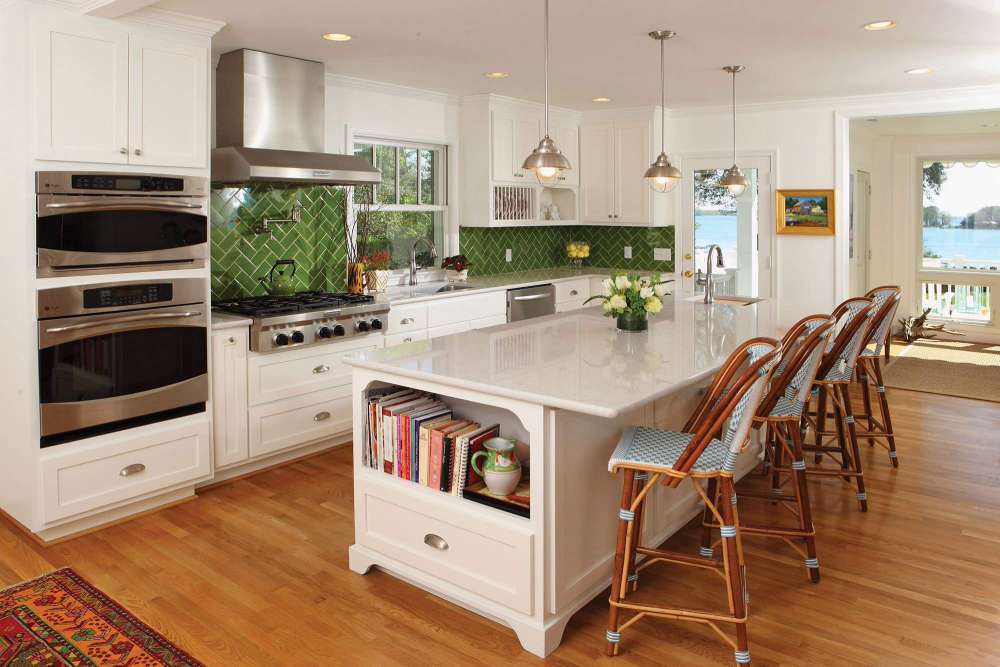
 Image source: Jennifer Grey Color Specialist & Interior Design
For a fresh and modern take on white kitchen cabinets, pair them with a herringbone backsplash in a light and bright shade. This combination will create an open and airy feel to your kitchen, making it the perfect space for hosting and entertaining guests.
Classic Charm
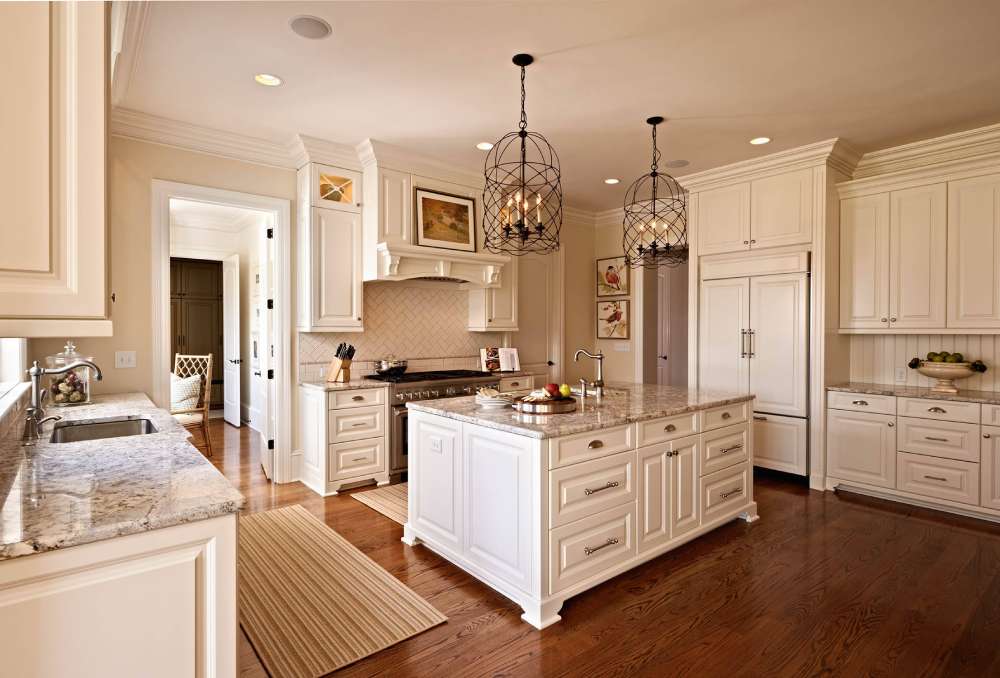 Image source: Carolina Design Associates, LLC
For a timeless and elegant look, go for white kitchen cabinets with a herringbone backsplash in a neutral shade. This classic combination is perfect for those who want a traditional and sophisticated feel to their kitchen.
Bold and Beautiful
 Image source: Kitchen Design Concepts
For those who want to make a statement, try pairing white kitchen cabinets with a herringbone backsplash in a bold and vibrant color. This will add a pop of color to your kitchen and create a unique and eye-catching space.
Rustic Charm
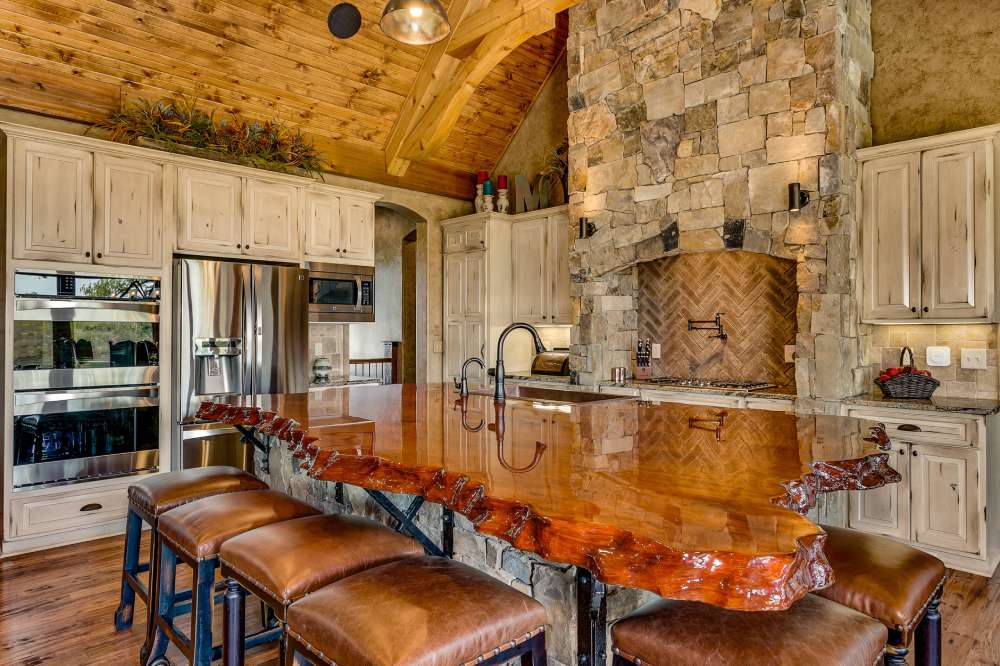 Image source: AEV Real Estate Photography
For a cozy and inviting feel, pair white kitchen cabinets with a herringbone backsplash in a rustic wood finish. This combination will create a warm and welcoming space that is perfect for family gatherings and intimate dinners.
Modern Minimalism
 Image source: Morrison Design House
For a sleek and minimalist look, pair white kitchen cabinets with a herringbone backsplash in a simple and understated shade. This combination will create a clean and streamlined feel to your kitchen, perfect for those who prefer a more modern aesthetic.
Coastal Cool
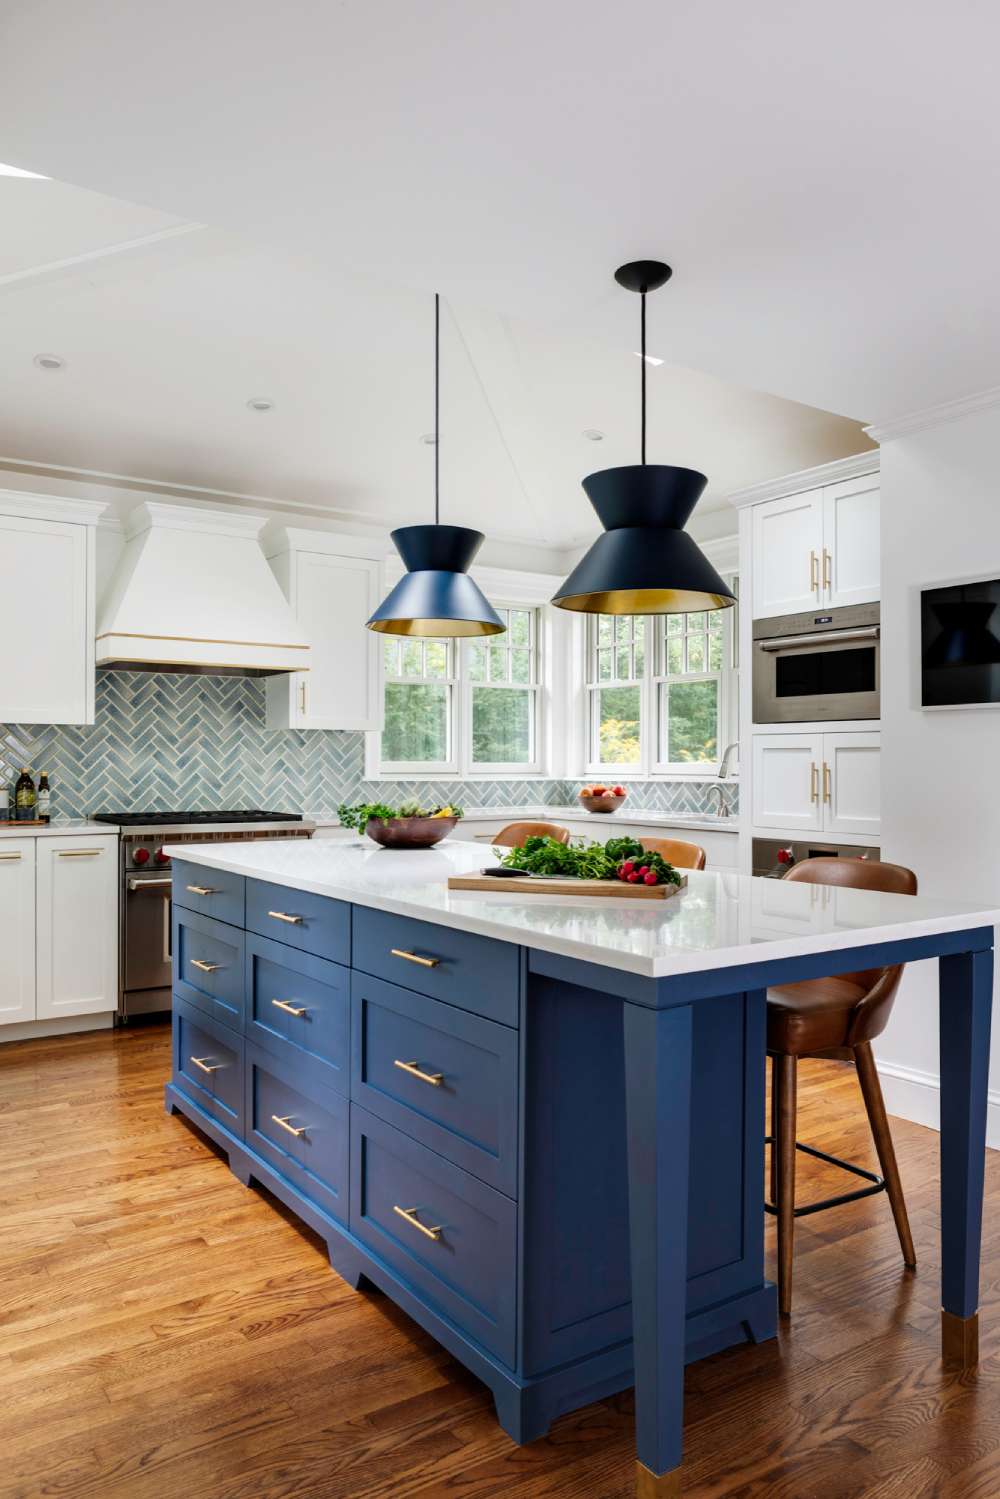 Image source: LDa Architecture & Interiors
For a beachy and relaxed feel, pair white kitchen cabinets with a herringbone backsplash in a soft blue or green hue. This combination will create a calming and peaceful space that is perfect for a beach house or coastal-themed kitchen.
Glamorous Gold
 Image source: Cottage Home Company
For a touch of luxury, pair white kitchen cabinets with a herringbone backsplash in a metallic gold finish. This combination will create a glamorous and sophisticated feel to your kitchen, perfect for those who love a bit of sparkle and shine.
Industrial Chic
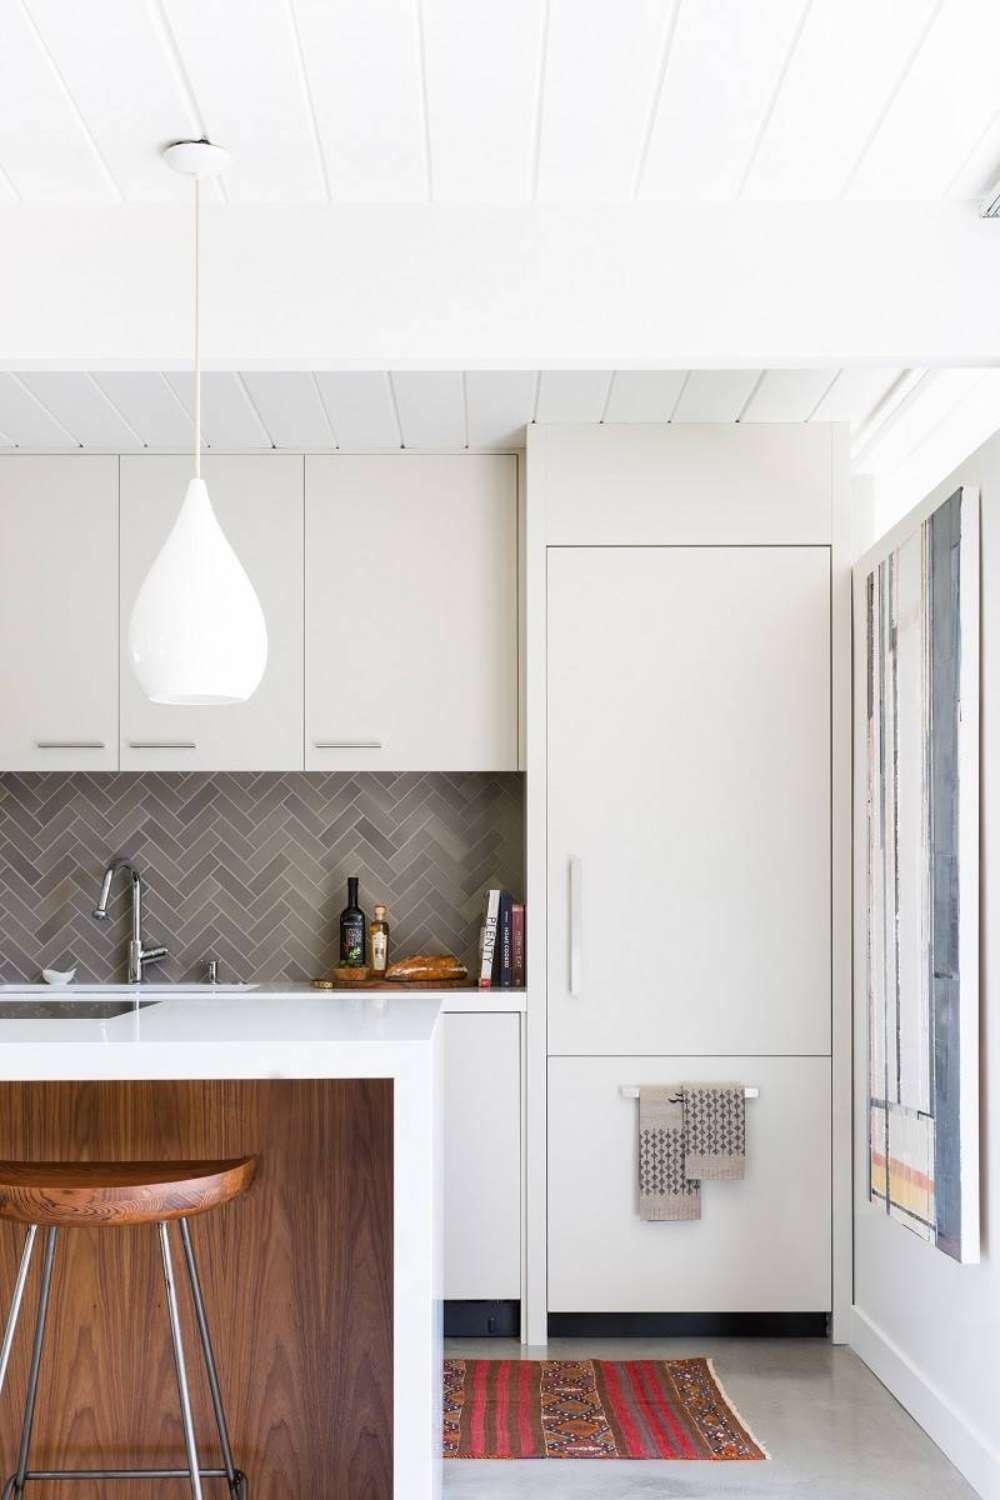 Image source: LMB Interiors
For a trendy and edgy look, pair white kitchen cabinets with a herringbone backsplash in a concrete or metal finish. This combination will create an industrial and modern feel to your kitchen, perfect for those who love a bit of urban flair.
Bold Black
 Image source: Roomba interior
For a dramatic and bold look, pair white kitchen cabinets with a herringbone backsplash in a black and white color scheme. This combination will create a high-contrast look that is sure to make a statement in your kitchen.
Warm and Cozy
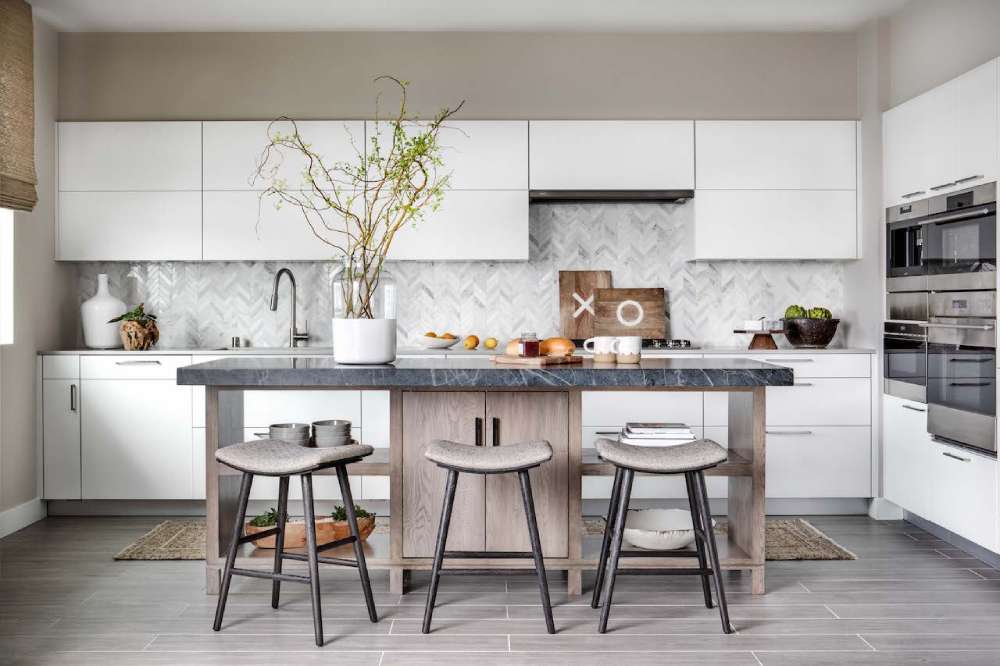 Image source: Morrison Interiors
For a cozy and inviting feel, pair white kitchen cabinets with a herringbone backsplash in a warm and earthy tone. This combination will create a comfortable and homey space that is perfect for family gatherings and lazy Sunday mornings.
Timeless Marble
 Image source: JM Kitchen & Bath Design
For a sophisticated and classic look, pair white kitchen cabinets with a herringbone backsplash in a marble finish. This combination will create a luxurious and timeless feel to your kitchen, perfect for those who love a touch of elegance.
Bohemian Bliss
For a relaxed and bohemian feel, pair white kitchen cabinets with a herringbone backsplash in a colorful and eclectic pattern. This combination will create a fun and whimsical space that is perfect for those who love a bit of boho flair.
Farmhouse Chic
 Image source: Anderson & Rodgers Construction
For a rustic and charming feel, pair white kitchen cabinets with a herringbone backsplash in a farmhouse-style tile. This combination will create a cozy and inviting space that is perfect for family dinners and holiday gatherings.
Muted Pastels
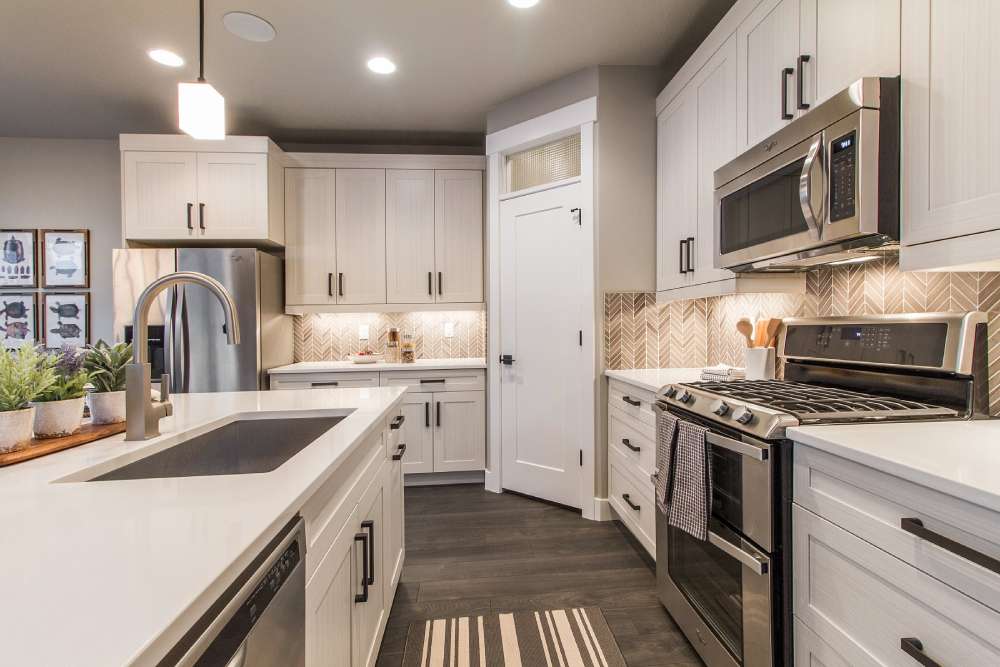 Image source: EDGEhomes
For a soft and subtle look, pair white kitchen cabinets with a herringbone backsplash in muted pastel shades. This combination will create a calming and serene space that is perfect for a relaxing and peaceful kitchen.
Bold and Graphic

For a bold and graphic look, pair white kitchen cabinets with a herringbone backsplash in a bold and colorful pattern. This combination will create a high-impact space that is perfect for those who love a bit of drama and flair.
Vintage Charm
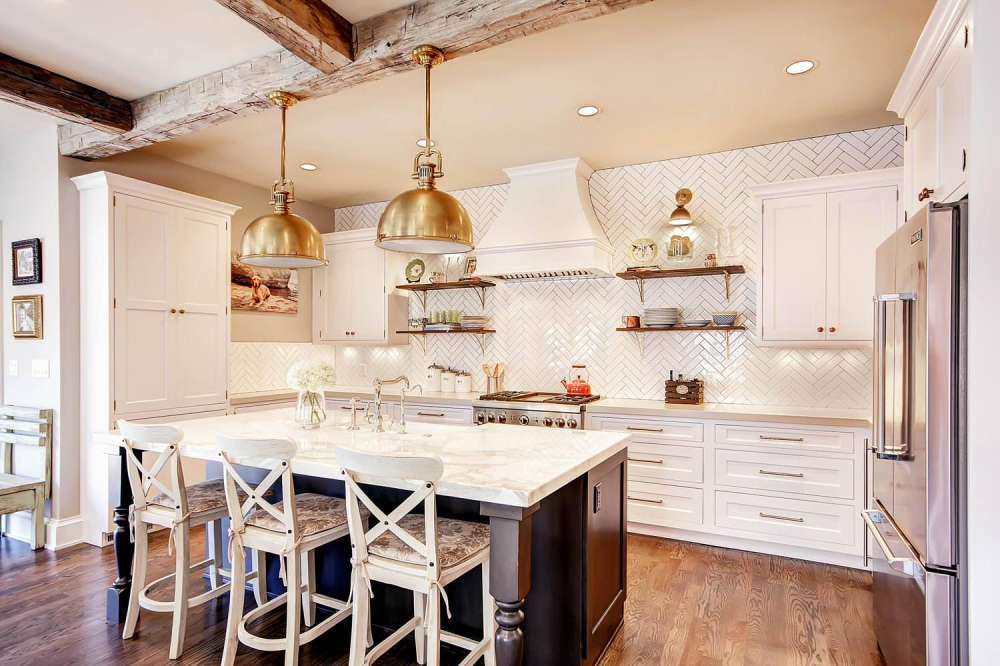 Image source: Pamela Chelle Interior Design
For a vintage and retro feel, pair white kitchen cabinets with a herringbone backsplash in a retro tile pattern. This combination will create a quirky and charming space that is perfect for those who love a bit of nostalgia.
Natural Wood
 Image source: Sarah Jones Design
For a warm and cozy feel, pair white kitchen cabinets with a herringbone backsplash in a natural wood finish. This combination will create a natural and organic space that is perfect for those who love a bit of rustic charm.
Sleek and Sophisticated
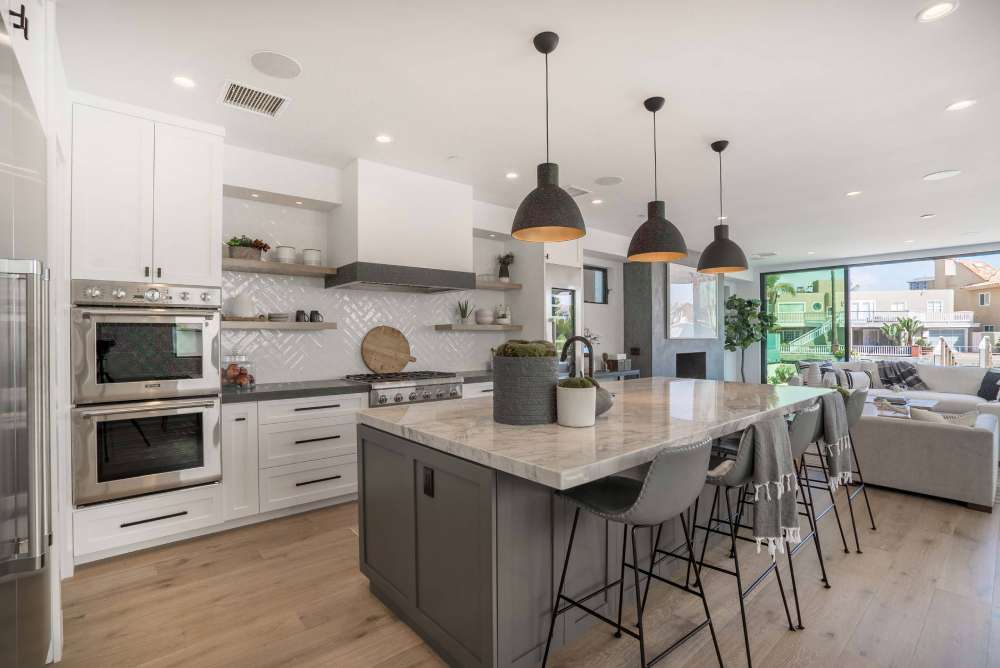 Image source: Cornerstone Construction and Property Services
For a sleek and sophisticated look, pair white kitchen cabinets with a herringbone backsplash in a glossy and reflective finish. This combination will create a modern and luxurious feel to your kitchen, perfect for those who love a bit of glamour.
FAQ On White Kitchen Cabinets With Herringbone Backsplash
How do I keep white kitchen cabinets looking clean and new?
Absolutely, maintenance is key. Regular gentle cleaning with a soft cloth and a mix of water and mild detergent should do the trick. Avoid harsh chemicals, they can strip the shine.
For tougher stains, baking soda creates magic without the damage. Keep them dry to avoid warping. A little attention goes a long way.
Are herringbone backsplashes too trendy or do they have staying power?
Herringbone is like the denim of interior design—classic, enduring, and versatile. Patterns come and go, but herringbone has this timeless appeal, much like chevron but with a historical charm. It’s been adorning European homes for centuries, so don’t fret, it’s here to stay.
What’s the best material for a herringbone backsplash in a kitchen?
Porcelain and ceramic top the list for their durability and range of styles. Natural stone tiles—think marble or travertine—are also fabulous for adding a touch of luxury and uniqueness; each tile keeps its own story, after all.
And glass tiles? They bring a modern sheen and depth to the game.
Can I DIY a herringbone backsplash or should I hire a pro?
Depends on your DIY chops. Are you confident with precise measurements and cuts? Cool under the pressure of aligning those zig-zags? Go for it.
But, fair warning: patience is your BFF here. Otherwise, pros exist for a reason. They’ll nail it, and sometimes it’s worth every penny for peace of mind.
What color grout should I use with a white herringbone backsplash?
Grout’s not just filler; it’s a design decision. Contrast with darker grout to pop, or go white to streamline. Remember, darker shades forgive dirt better.
Grout sealant? Non-negotiable. It keeps spills from becoming permanent additions. Let’s call it the grout’s personal armor against kitchen chaos.
Do white cabinets with a herringbone backsplash suit small kitchens?
Absolutely. White cabinetry can make any space feel bigger and brighter, and the herringbone pattern adds that wow factor without overwhelming. It draws the eye and creates movement—essentially, it’s visual magic. Interior design isn’t sizeist, thankfully.
How do I choose between a glossy or matte finish for my backsplash?
Glossy tiles reflect light, mate. They give life and sparkle to your kitchen—great for dimmer spots. Matte’s more subdued, non-reflective, but hides smudges like a champ. It’s about what vibes you’re channeling. Chic gloss or understated matte, the choice mirrors your style.
What cabinet hardware complements white kitchen cabinets and a herringbone backsplash?
There’s this dance, see—cabinets, backsplash, and hardware all in sync. Brushed nickel or stainless steel gives a modern twist, while brass or bronze adds warmth.
Sleek handles? Contemporary cool. Ornate knobs? Classic charm. It’s like accessorizing; the details tie the look together.
Is it better to extend the herringbone backsplash to the ceiling or stop at the cabinets?
Sky’s the limit, or in this case, the ceiling. Running it all the way up creates drama, an instant focal point. Stopping at the cabinetry? More subdued, traditional. Think about the ceiling height, and what you want to say with your space. It’s like choosing a high note in a song.
What countertops pair well with white cabinets and a herringbone backsplash?
Quartz and granite are the dynamic duo of durability and beauty, and they sidestep high maintenance. Marble screams luxe but tends to be a diva with upkeep. Or go wood for a warm, organic contrast. The canvas is white, the backsplash detailed, so let the countertops sing.
Conclusion
We’ve journeyed through the heart of home design, discovering the serene allure of white kitchen cabinets paired with the intricate dance of the herringbone backsplash. It’s not just a trend; it’s a statement of timeless taste echoing through each carefully crafted angle.
By now, we’ve unlocked a treasure trove of insights—from how the light plays off glossy ceramic tiles, how a subtle grout color choice can define a look, to the artistry behind selecting just the right hardware to bring it all together.
Consider this your springboard:
- Revamp with confidence, knowing which materials speak durability and which ones whisper elegance.
- Embrace the versatility where your cabinets and backsplash not just co-exist but converse, elevating the kitchen to a work of art.
- Let inspiration lead the way; transform that space.
And as the sun sets on our exploration, remember, the kitchen is more than a room; it’s where your life’s moments simmer and where your creativity serves up its finest.