Imagine stepping seamlessly from one room to another, your feet gliding over smooth, uninterrupted surfaces. This is the beauty of installing laminate flooring without transitions.
As homeowners increasingly seek sleek, visually expansive interiors, mastering this installation technique has become essential.
In this article, you’ll dive into the nuts and bolts of laying down laminate planks that flow unhindered by transition strips, creating a unified look throughout your space.
Whether dealing with subfloor preparation, understanding the importance of expansion gaps, or selecting the right underlayment options, each detail is pivotal.
By the end of your read, you’ll have a firm grasp on the tools, techniques, and tricks to achieve that professional, seamless finish. Prepare to transform your home with a flooring solution that’s not only cost-effective but also remarkably stylish and durable.
How to install laminate flooring without transitions
To install laminate flooring without transitions, follow these steps:
- Check Flooring Specifications: Different laminate flooring types have specific guidelines on the maximum length you can run without transitions. Ensure you are within these limits to avoid issues.
- Plan Carefully: Lay out your flooring plan carefully, considering the layout of your rooms and doorways. Ensure that you understand the flow of the flooring and where transitions might be necessary.
- Consider Working Backwards: In some cases, you can install laminate flooring by working backwards, which involves installing the female end into the male end. This method can help you avoid using transitions in certain areas.
- Precision is Key: When working on long spans, ensure precise measurements and alignment to avoid gaps between planks. Even a small discrepancy can lead to visible gaps where different sections of flooring meet.
What are transitions and where are they used

Interior decorating in flats usually involves more than one flooring option. You may find carpets, hardwood, laminate, ceramic tiles… Even in the commercial space, there will always be at least two kinds of flooring.
If you decided to install either hardwood, ceramic or laminate, you will need the transitions.
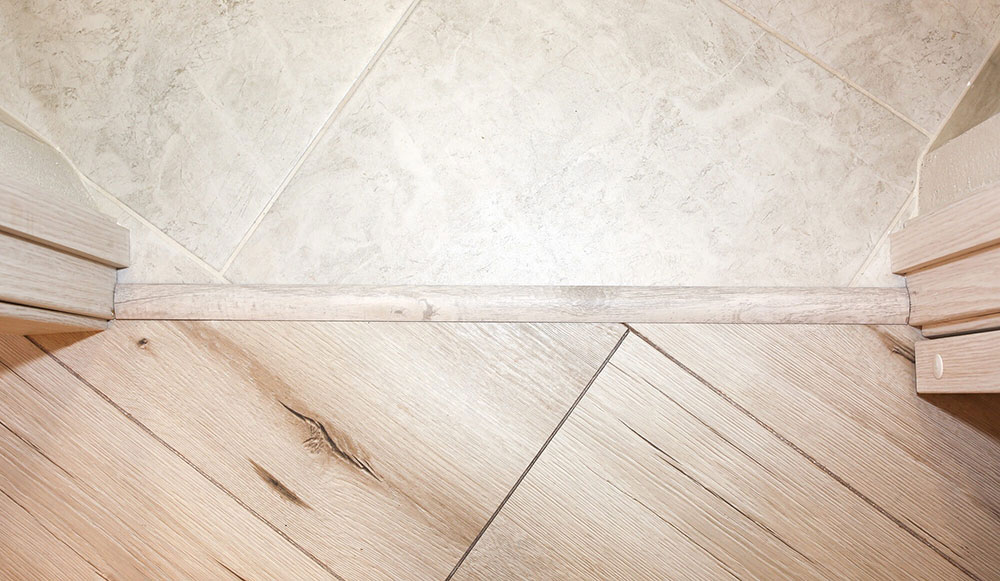
These transitions are useful for two main reasons. Firstly, they ease the navigation from one room to another. They also visually divide rooms and different floorings. Transitions are installed only if there are doors in between the rooms.
Besides separation two different floor types, these strips are also useful for rooms that are not in the same level.
When installing laminate flooring, it can be set without the transitions. Yet, this will make the installation a lot more difficult. Having that in mind, you should make a plan a do a thorough preparation first. It is not impossible to achieve the flow in the installation and appearance. So how to install laminate flooring without transitions?
We will present to you some of the ways in which you can install the laminate flooring without the it.
Reducer
To deal with the issue of rooms not being at the same level, use this type of transition. For instance, it is often used as a shift from laminate to the vinyl floor or tile to laminate alteration. This is a type of mold that is bent at one side and also secured to a track. Its dimensions are about 94 inches long.
Tile-to-Laminate Transition

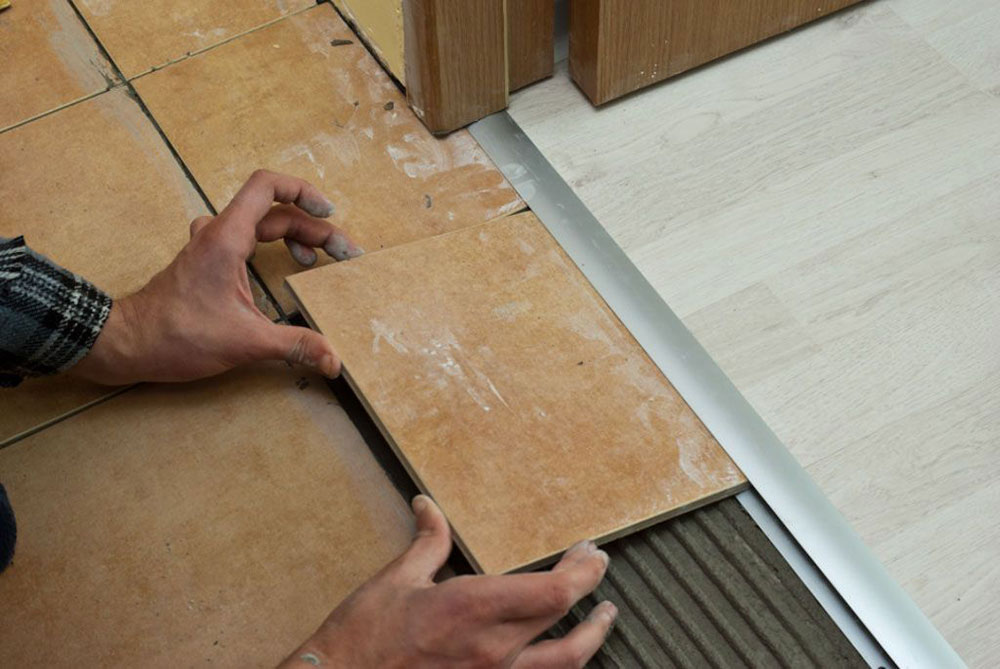
This kind of transition is used for crossing from tile to laminate floor. It often occurs laminate floors to be lower than the ceramic tile floor. The reason is the tile is laid over a cement subfloor. On the other hand, laminated has a foam underlayment underneath the boards. This kind of transition mold adapts to floors of different thicknesses as it is constructed with offset grooves.
Choosing right direction
To gain a more fused look, you should take into account the direction of laying the laminate boards. This is often the key to a good visual merge of two different floorings. It is more effective if the laminate flooring in the entire house (or the apartment) is positioned in the same direction.
If you are not sure which direction that might be, just follow the orientation of your house. The direction is determined by the shame of the house. The laminate boards should be following the longest line of the house plan. Of course, you don’t have to follow this rule but take it into consideration.
For example, it is more pleasing to the eye to have the boards laid parallel in front of the entrance.
Planning to avoid transitions
As we already mentioned, installing transitions is not a rule. Actually, many people like the flooring better without the transitions. This will take more time and effort as it is a more complicated option. Thorough preparation is a must. Examine all the floors, and watch for the doorways.
It is very important to measure the level of humidity in the rooms where you do the installation. Open the boxes containing the laminate boards and let them sit for a couple of hours to adapt. Laminate planks are affected by moisture and they always expand at a certain rate.
Also, when installing the laminate, leave out some space, a couple of inches, away from the walls. After the boards fully adapt, they will expand a bit. If there isn’t enough space left, the boards will push the walls and lead to buckling. Don’t forget to read the manufacturer’s instructions.
If you set the laminate boards in an equal direction in the entire house, you probably won’t need to use the transitions.
Placing the laminate planks around the cabinets or doorways can be tricky. They can be positioned either parallel or perpendicularly. If you want to keep the doorways without the transitions, set the full planks. You will get an edge suitable for connecting perpendicular planks. To make this as simple as possible, keep laying the boards in the same direction.
Laying the entire floor
Installing a laminate floor in the whole house may seem like an easy DIY project. However, you cannot ignore all the walls and doors dividing the space. These should always be taken into account. You shouldn’t look at the house like one big room.
After you take care of all the obstacles and tricky areas, you now have an easier part of the job. Installing the laminate in individual rooms is relatively simple. Like a puzzle and another DIY task you can finish in one weekend.
Follow the direction of the house and start setting boards from the furthest part of the room. Use a saw to cut the doorjamb.
Keep in mind that if you don’t have the transition, there won’t be any space for laminate to expand and contract.
FAQ On How To Install Laminate Flooring Without Transitions
Can laminate flooring be installed without transition strips?
Absolutely! Installing laminate flooring without transitions is achievable, particularly with a floating floor method.
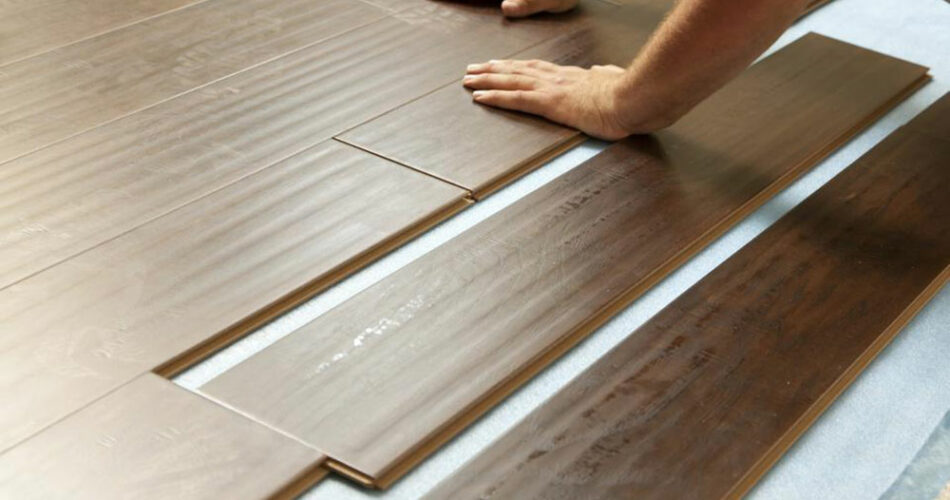
This technique involves click-lock planks that seamlessly connect without the need for transition pieces, promoting a smooth, continuous look across different rooms.
What are the key steps in preparing the subfloor?
Preparation is crucial. Start by ensuring the subfloor is level, clean, and dry. Any high spots should be sanded down and low spots filled with a suitable floor leveling compound. This helps prevent future issues like buckling or gaps in your flooring.
Is an underlayment necessary for installing laminate without transitions?
Yes, underlayment plays a dual role. It provides a moisture barrier, crucial for laminates, and helps in soundproofing, enhancing the durability of the floor. Ensure it’s smooth and properly laid to avoid any creasing that could affect the laminate layer.
How do you manage expansion gaps in this type of installation?
Expansion gaps are vital to allow the natural expansion and contraction of the flooring material. Even without transitions, maintain a gap of about a quarter-inch around the perimeter hidden beneath the baseboards for best results.
What tools are required for the installation?
You’d need a few essential tools: a tape measure, a utility knife, a laminate flooring cutter, spacers, and a rubber mallet. Accurate measuring and cutting ensure the planks fit perfectly, maintaining a uniform flow across rooms.
How do you handle corners and edges when installing laminate?
Navigating corners and edges requires precision. Measure and mark where cuts are needed, and use a laminate cutter for a clean, sharp finish. For tricky areas around door frames and cabinets, a jigsaw might be necessary for intricate cuts.
What is the best way to maintain the installed flooring?
Maintaining laminate flooring is straightforward. Regular sweeping and occasional mopping with a damp, not wet, mop suffice. Avoid excessive water, and use cleaning products specifically designed for laminate flooring to keep it looking great without damaging it.
Are there specific types of laminate that work best without transitions?
Opt for higher-quality laminate that features dense core construction. These types are better equipped to handle the stresses of floating without transitions. Also, planks with robust locking systems are preferable, as they ensure the flooring stays seamless over time.
How do you ensure the laminate is aligned correctly across multiple rooms?
Start the installation at the longest, straightest wall, preferably visible upon entering the room. Always lay the planks parallel to this wall. Using spacers along the wall allows the laminate to expand and contract, helping maintain alignment throughout the rooms.
What’s the biggest challenge when installing laminate without transitions?
The biggest challenge lies in keeping the floor level across different rooms and doorways. Without transitions to hide discrepancies, it’s essential to have a perfectly level subfloor. The use of quality underlayment also assists in achieving a smooth, professional finish.
Conclusion
Mastering how to install laminate flooring without transitions unlocks a sleek, continuous look that enhances the flow of your living space. The journey from initiating the flawless subfloor preparation to strategically placing each plank requires attention and precision, ensuring expansion gaps are respected and the click-lock technology is effectively utilized.
As we wrap up, remember: the success of your installation hinges on meticulous planning and the utilization of the right tools and underlayment. Harmony in flooring across rooms not only elevates the aesthetic but also boosts the overall durability and functionality of your laminate.
Embrace the sleek sophistication of a transition-free floor and revel in the seamless beauty it brings to your home. With the right approach, your floors will not only look magnificent but stand the test of time, gracefully.

